It is not difficult to find a way to play video with subtitles online, as long as you can find the right tool/button in the main interface of most media players. But what if the video has no subtitles? This is where the stairs begin, because we need another program that will stick the subtitles on our videos.
In this tip, I’d like to show you how to add video subtitles in the most convenient ways. This can be understood simply as manually adding the subtitles and playing them while watching the videos, or combining them into a single file so that you can watch the video with the subtitles.
Why do Subtitles Matter?
For one simple reason. Most of the users view videos without audio.
These people include deaf users. If we do not transcribe to our recording, the user will absolutely switch to another video. The chances that it will come back to our videos when it will be able to play it back with subtitles, so it’s worth taking the time and simply making it easier for users to perceive your content. In this regard, it’s worth adding subtitles to each video and most likely increase the audience engagement.
How to add Subtitles to videos?
Record a video
If you are making a video for Facebook, MP4 or MOV is recommended. The vast majority of modern devices record recordings in one of these two formats.
Prepare your subtitles script
Write down all the statements of the characters for the video. Make minor adjustments if you spot lapses, mistakes, or repetitions. You can also transcribe directly in the software that I will introduce to you.
Add Subtitles with MiniTool MovieMaker
One of the tools facilitating this stage of work is MiniTool MovieMaker, thanks to which you will avoid the need to click between the playing video and the document with subtitle scripts.
You can add subtitles in several ways. They can be found on various websites, but in my opinion the easiest way is with MiniTool MovieMaker program.
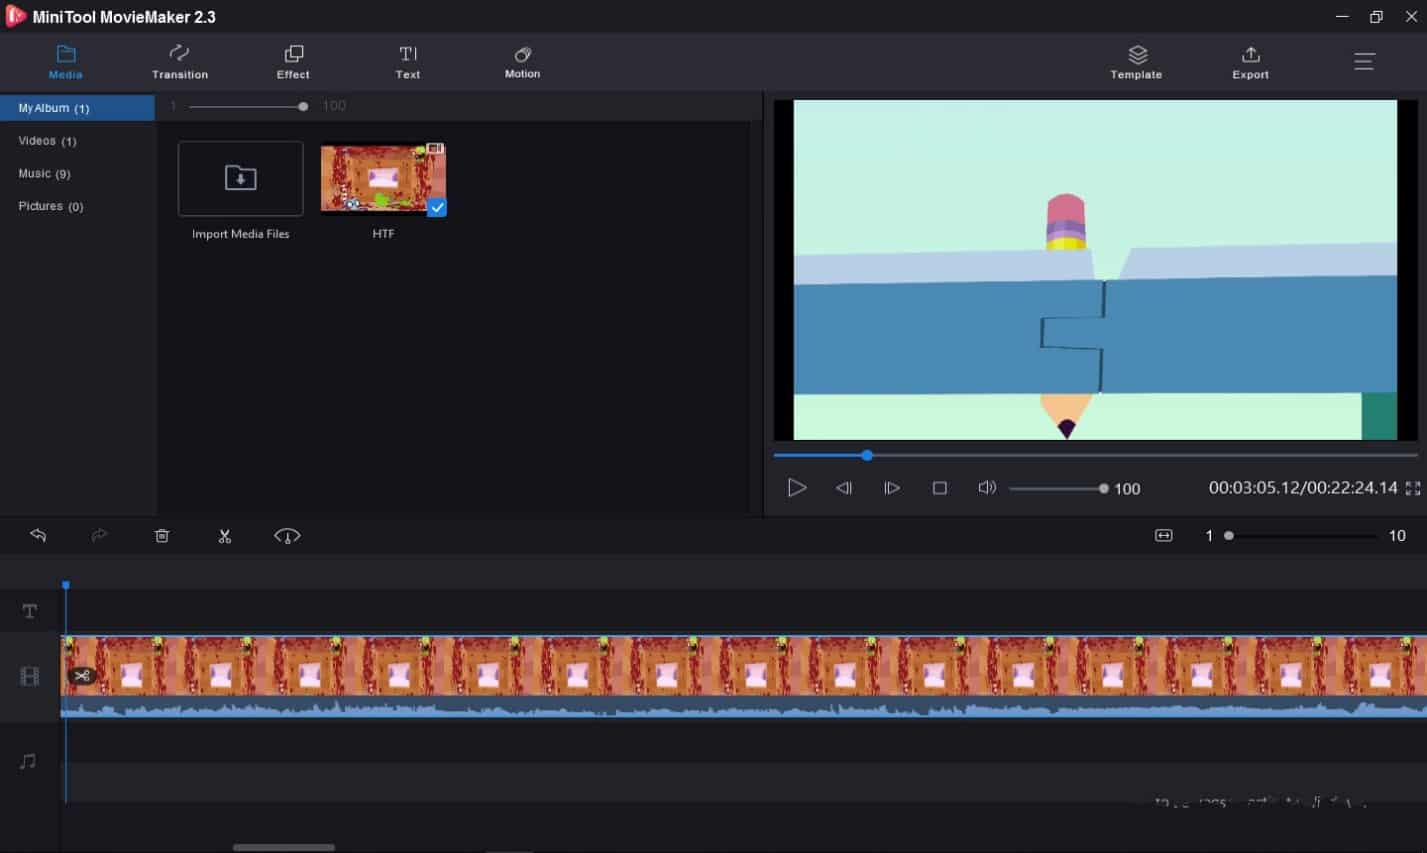
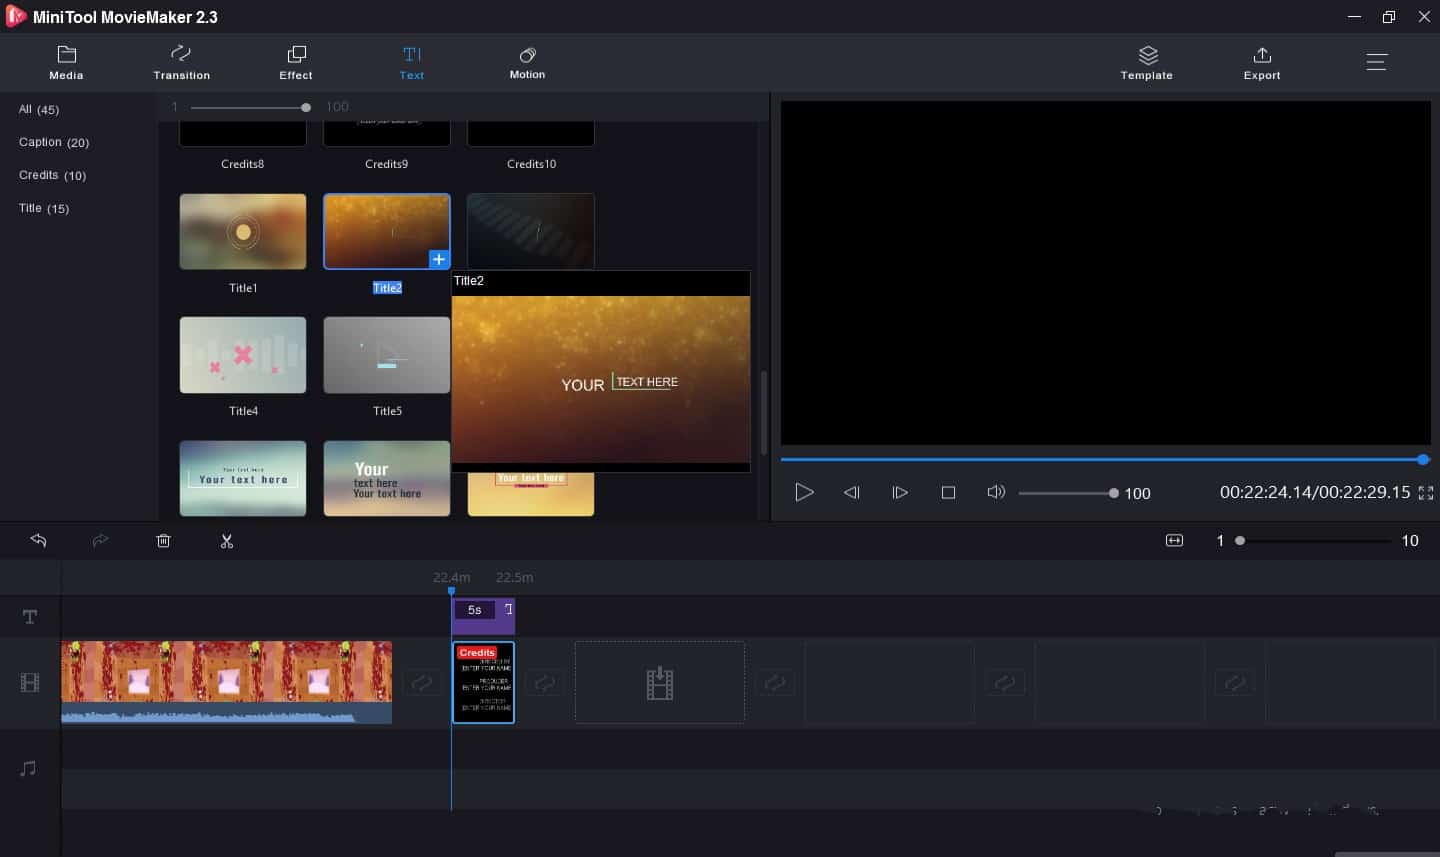
Let’s check what opportunities MiniTool MovieMaker offers us. After installing this program, in the main interface import a previously prepared video clip, and the second is to use the Text option, available after dragging the video on the timeline.

There are over 20 types of title/subtitle formats to choose from.

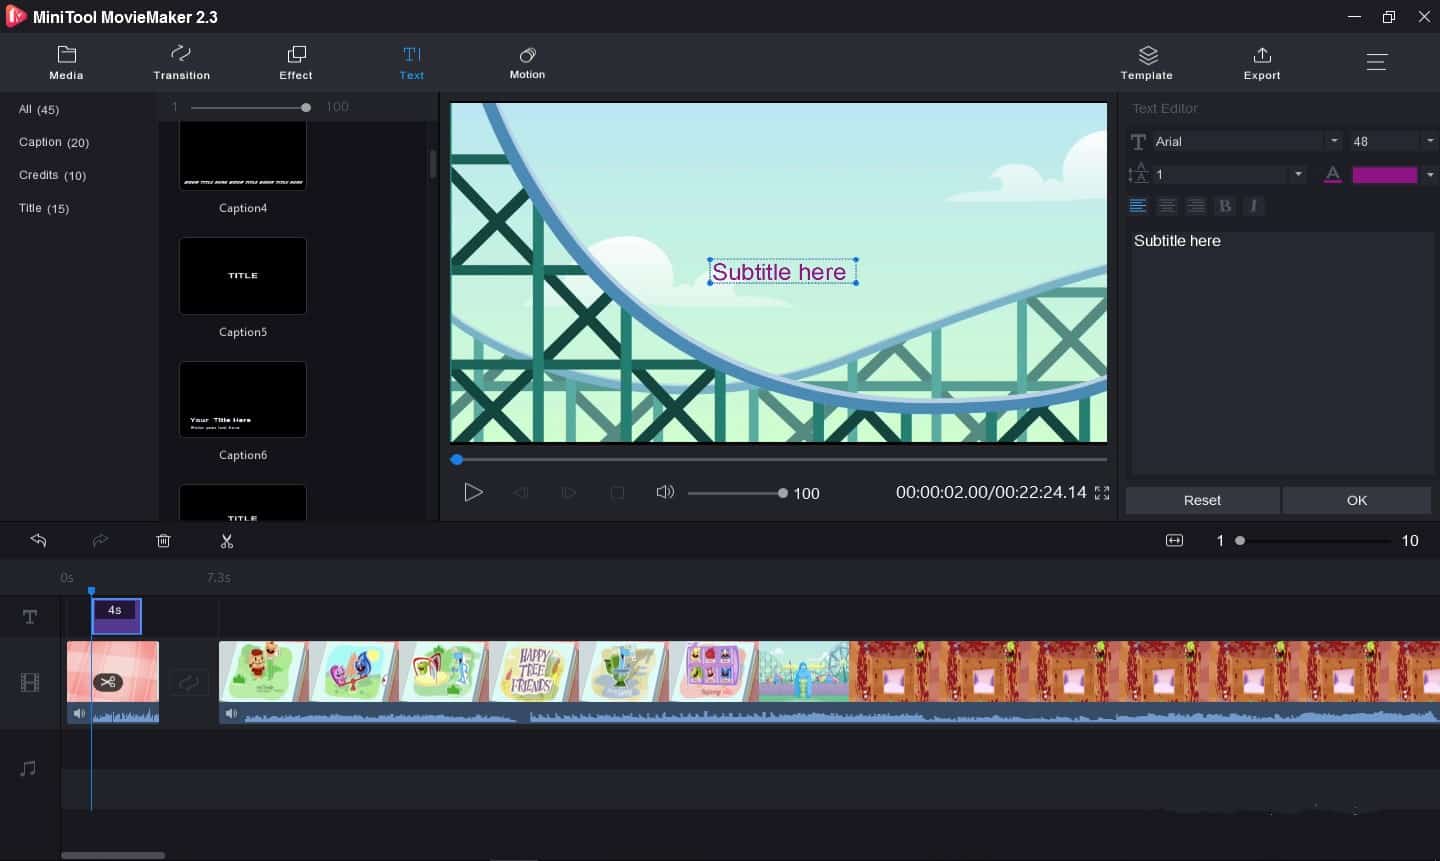
The subtitle tool itself looks quite intuitive when launched, you can just add and edit subtitles directly in the window. What’s more, the prepared file can also be easily adapted to the needs of other websites, e.g. YouTube.

A preview of the video is available in the middle on the bottom. Right up to it, there is text/subtitle and this is where we assign subtitles to a specific time. The widest, currently still empty window is where you can preview all added subtitles. Things will be easier when you have prepared the subtitles transcription earlier.
When publishing a video on social media platforms, select the created file and you will publish a video with subtitles, which will increase the engagement of your audience.
Fonts size and format
You probably have the font too small by default and you don’t see much in the video preview on the left. Click the mentioned Edit, in the Font options you can adjust the font size by checking the value(number 80 is highlighted here).
Final Words
Is creating and adding subtitles difficult? As you can see, definitely not, but just like editing and editing the videos themselves. If you plan a lot of work in this area, it is worth reviewing the available options in MiniTool MovieMaker program in more detail, assigning convenient keyboard shortcuts and developing your own style of working with the program.
The best and, contrary to appearances, the fastest solution is to manually add subtitles. Only then do we have control over what we write and how the videos are visually. We know it takes a long time, but it’s really worth investing in!


Leave a Reply